How to Save Emails and Attachments to Airtable
Looking for a seamless way to save your emails and attachments to Airtable automatically? While Airtable doesn’t offer native email integration, TaskRobin bridges that gap. TaskRobin makes it easy to save incoming emails—complete with attachments, sender info, and more—straight to your Airtable tables.
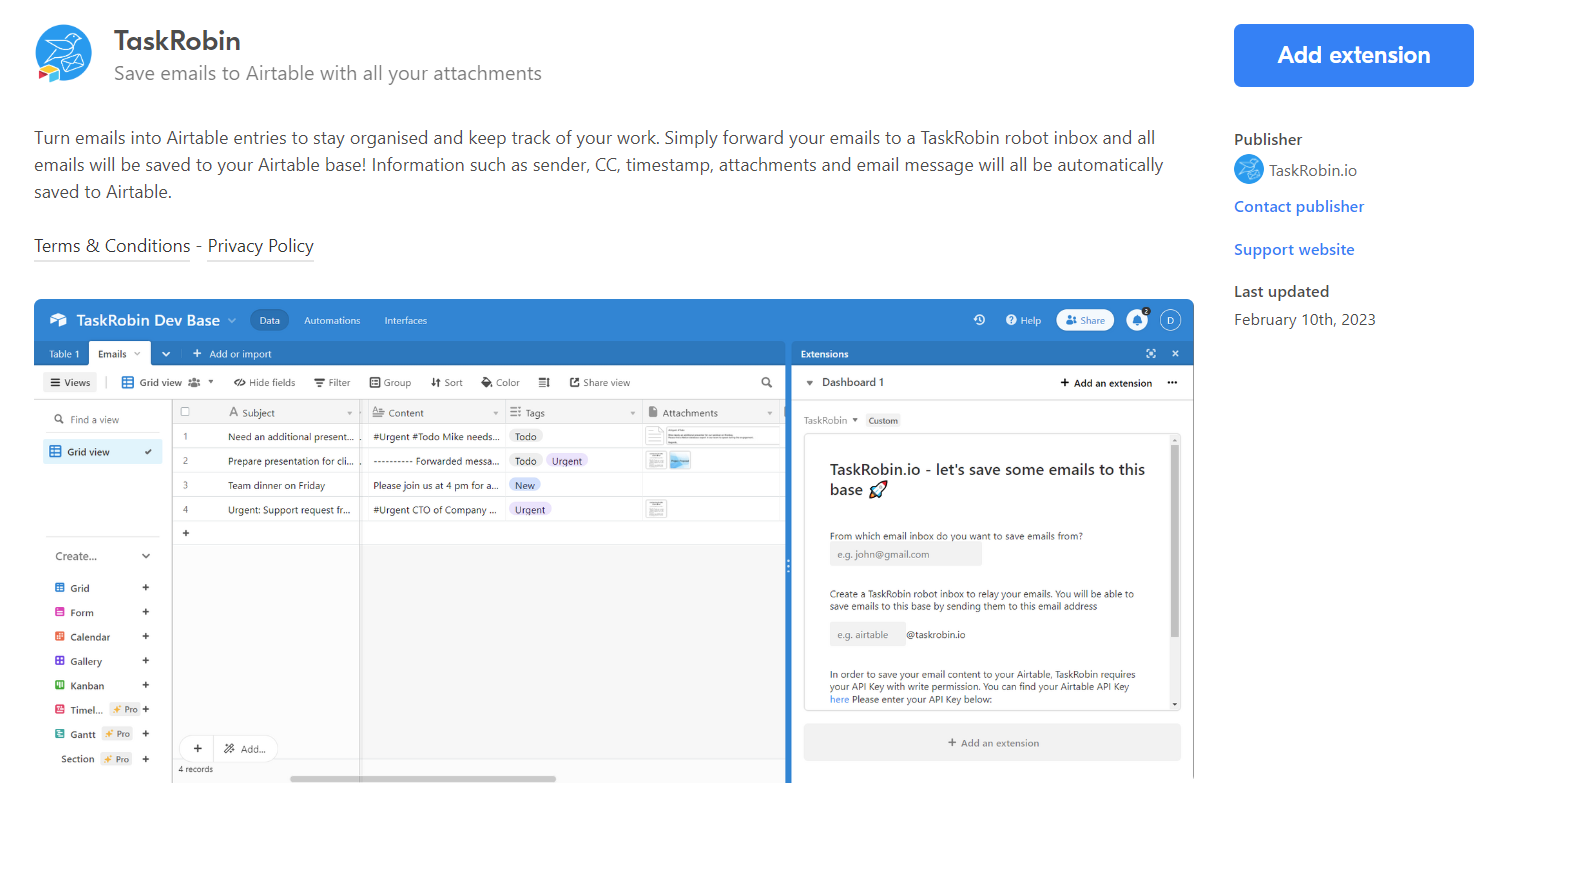
Our TaskRobin extension is available in the Airtable Marketplace, allowing you to easily setup TaskRobin directly in Airtable.
In this guide, we’ll show you the simple 3-step process to get TaskRobin up and running with Airtable. By the end of this guide, you’ll be able to automatically save emails to Airtable and keep track of every attachment, timestamp, and sender detail—all in one place!
How TaskRobin Works to Save Emails in Airtable
TaskRobin streamlines email management for Airtable users. With the TaskRobin-Airtable integration, you can:
- Save incoming emails directly to an Airtable table.
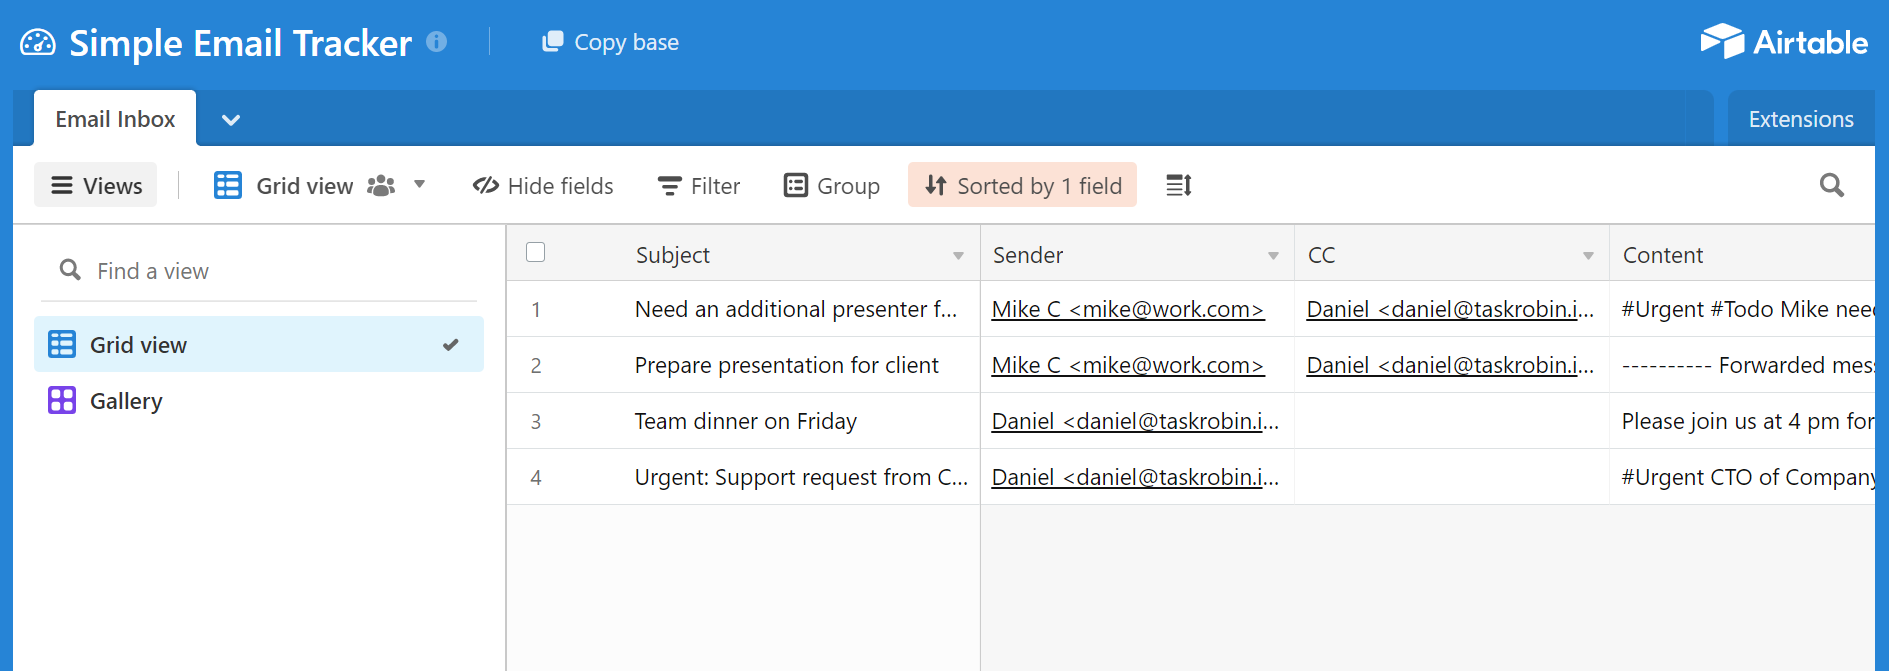
- Capture key details like subject, message body, attachments, timestamp, and sender info.
- Organize your workflow by automating the email-to-database process, perfect for managing projects, tasks, or client communication.
Follow these steps to set it up.
Link Airtable to TaskRobin
To start, you’ll need to link TaskRobin to your Airtable account. Here’s how:
- Sign up for TaskRobin: Begin by creating your TaskRobin account.
- Enter your email address: Specify the email address from which you want to forward messages to Airtable, for example, “daniel@gmail.com”.
- Connect your Airtable table: After you authenticate with your Airtable account, you will be asked to select which table will be used to store your emails in Airtable. TaskRobin will automatically add relevant fields to your Airtable table. Once you have selected a table, everything is ready to go!
- Customize the table (optional): While the template comes pre-configured, you can add more columns to suit your workflow. However, avoid changing the core column names to ensure compatibility with TaskRobin.
Create a Custom TaskRobin Inbox to Forward Emails
Finally, set up a custom inbox where you will send, forward, or BCC emails that you want to save to Airtable.
Create a TaskRobin forwarding address: Choose a custom email address under the @taskrobin.io domain. For instance, you might set up “airtabletasks@taskrobin.io”.
Save your configuration: Once you’ve chosen your custom inbox, save the setup. You’re now ready to forward emails to your TaskRobin inbox and have them automatically saved to Airtable!
Example Use Cases:
- Project management: Organize client communications by saving all emails and attachments related to a specific project.
- Task tracking: Forward tasks and updates from your inbox directly to Airtable for better visibility and organization.
- File storage: Automatically save email attachments to Airtable for easy access.
Conclusion: Automate Your Email Workflow with TaskRobin
With TaskRobin, automating the process of saving emails and attachments to Airtable is easier than ever. By following these steps, you can link your inbox to Airtable and ensure that every email, attachment, and detail is saved in one central location—ready to be organized, searched, and used as needed.
Ready to get started? Sign up for TaskRobin today and streamline your email-to-Airtable workflow!