Log emails in your Airtable CRM
How to Use Airtable as a CRM: Save Emails Automatically with TaskRobin
Many businesses are moving their Customer Relationship Management (CRM) systems to Airtable due to the flexibility it offers. Airtable enables businesses to organize their workflows, track customer interactions, and manage tasks—without the hefty subscription fees of traditional CRM platforms like Salesforce. For startups or businesses that already store data in Airtable, transitioning to Airtable as a CRM is a natural fit. But how do you seamlessly log emails into your Airtable base for streamlined communication tracking? That’s where TaskRobin comes in.
Save Emails to Airtable Automatically
One common issue with using Airtable as a CRM is the inability to easily and automatically log emails into your Airtable base. Without this feature, you’re forced to manually copy-paste email data, which is time-consuming and inefficient. TaskRobin solves this problem by integrating email functionality directly into Airtable.
TaskRobin’s Airtable extension creates a table with all necessary fields, such as subject, sender, CC, and attachments, to store emails in Airtable automatically. By simply forwarding or setting up auto-forwarding with your email provider to TaskRobin’s forwarding address, emails are uploaded directly to your Airtable base.
Benefits of TaskRobin’s Email-to-Airtable Integration
- Automatic email logging: No need for manual input, just forward or auto-forward your emails.
- Custom fields: TaskRobin populates important details like subject lines, attachments, and sender info.
- Seamless workflow: Track customer interactions without leaving Airtable.
Creating Customer-Based Table Views in Airtable
Once emails are saved to Airtable, it’s important to create customer-based views for better visibility into your email communications. For example, let’s create a table view to track all email communications with a customer, such as Daniel (this is a hypothetical customer).
Step 1: Duplicate the Email Table View
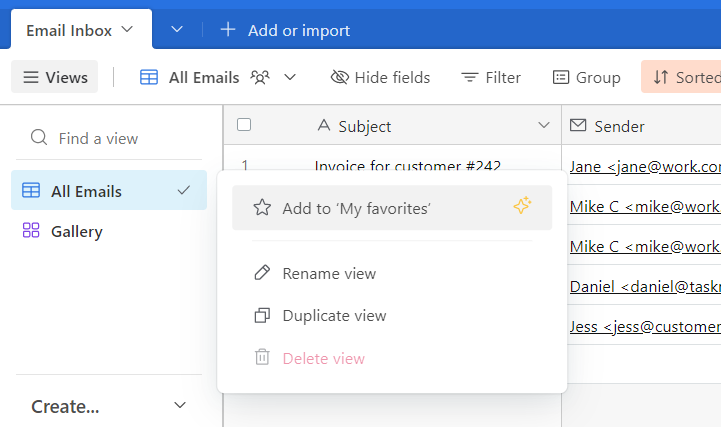
Start by duplicating the default email view in Airtable where all emails logged by TaskRobin are displayed.
- Navigate to the left-hand panel in Airtable.
- Right-click the current view and select “Duplicate View.”
- Name the new view after the customer, e.g., “Daniel daniel@taskrobin.io.”
Step 2: Filter Emails by Customer
Now, you’ll want to filter the view to show only the emails relevant to Daniel.
- Click the “Filter” button on the horizontal menu above the table.
- Add filters to display emails where Daniel’s email is present in the Sender, CC, or To field.
Make sure the rules are set as OR rules, so that any email involving Daniel will appear in this view.
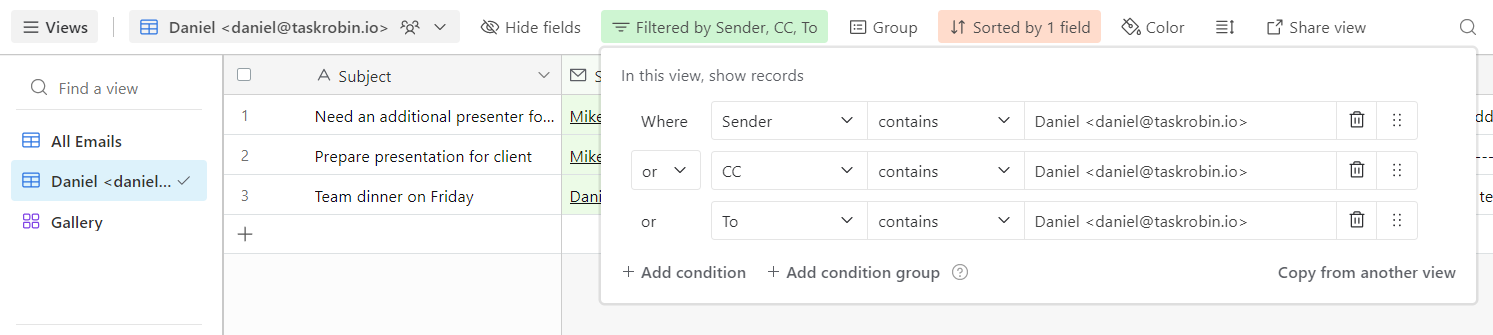
You can further customize these filters based on subject keywords or email content for more granular control over your email data.
Step 3: Filter Emails by Tags
TaskRobin also allows you to automatically tag emails. To enable this feature, simply add hashtags (e.g., #urgent, #todo) to the subject or the first line of your forwarded email. TaskRobin will log the tags into your Airtable base.
Create an additional filter to display emails with specific tags, helping you prioritize tasks.
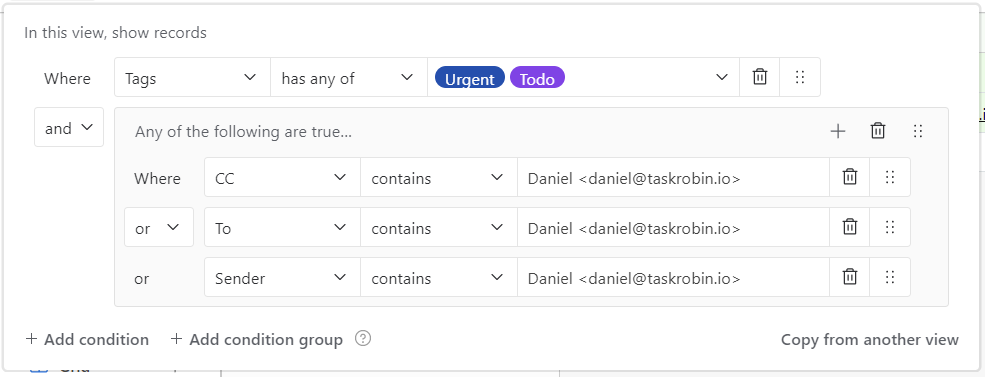 We have created a “condition group” with the “+ Add condition group” button at the bottom of the filter pop up, and dragged all our existing 3 rules to show only emails for this particular customer into this group.
Then, we add one more condition depending on the value of the “Tags” column.
With this set of filtering rules, this customer based table view will display all emails that our customer is either a sender, in the CC or To field, and has “Urgent” and “Todo” tags added. This would be useful to create views on pending tasks for a particular customer.
We have created a “condition group” with the “+ Add condition group” button at the bottom of the filter pop up, and dragged all our existing 3 rules to show only emails for this particular customer into this group.
Then, we add one more condition depending on the value of the “Tags” column.
With this set of filtering rules, this customer based table view will display all emails that our customer is either a sender, in the CC or To field, and has “Urgent” and “Todo” tags added. This would be useful to create views on pending tasks for a particular customer.
Creating Customer-Based Calendar Views in Airtable
To track engagement frequency with customers, you can create a customer-based calendar view that shows when the last email communication occurred. This is especially useful to prevent lapses in communication.
- In the left-hand panel, create a new Calendar View (This newly created calendar view is not filtered, so all emails will appear for now).
- Duplicate the filtering rules from your customer-based table view by clicking “Copy from another view” in the filter options.
- Select your customer view and apply the filters to the calendar view. Once you hit “Copy configuration”, you will see your filter conditions for the new calendar view updated to whatever you had in your table view. It’s that simple!
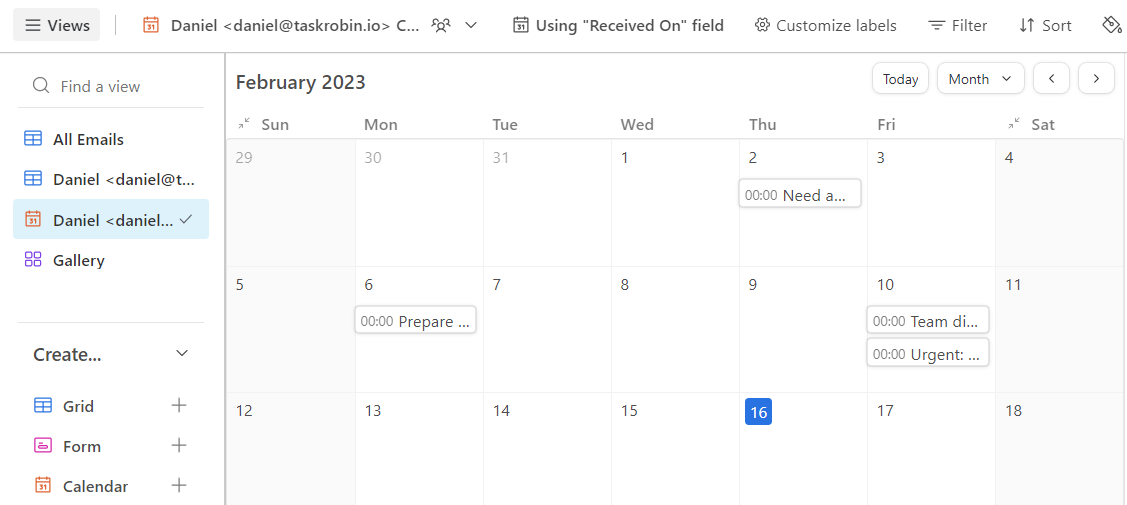
Now, you have a calendar that displays all logged emails for the selected customer, making it easy to see your last points of contact.
Automatically Create a Contacts Table in Airtable
In addition to saving emails, a good CRM system should provide an overview of all customer information. With TaskRobin, you can automatically create a Contacts Table that tracks names, email addresses, company details, and more.
TaskRobin automatically adds new email contacts to your ‘Contacts’ table when emails are forwarded. New contacts will populate fields such as:
- Name
- Email address
- First and last contact date
- Company name
- Additional notes
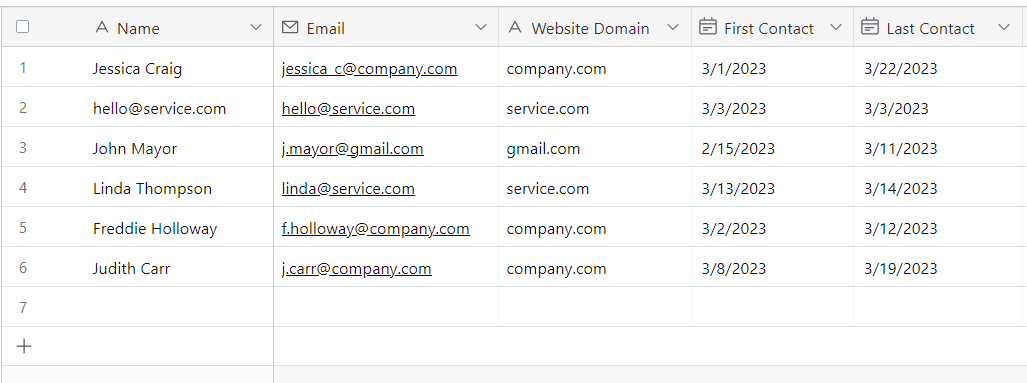
Whenever you receive emails from existing contacts, TaskRobin will update their last contact date automatically. This ensures your customer data is always up to date without any manual effort.
And each time a new contact is found in your saved emails, TaskRobin will create a new row in Airtable with the new contact’s name, email address, email domain, first contact date and last contact date automatically.
Conclusion
With TaskRobin’s powerful integration, Airtable becomes a fully functional CRM. TaskRobin automates the email logging process, allowing you to track customer communications and create customized views and filters. Whether you need customer-based table views, filtered calendars, or automatic contact tracking, TaskRobin helps you build an efficient, scalable system inside Airtable.
If you need additional help, feel free to read more about TaskRobin or talk to us directly on live chat to get more ideas.
Explore TaskRobin’s Airtable integration and see how it can transform your customer relationship management today!